
Dry Riser Installation Sequence | UK
Why dry riser installation matters
A dry riser is a fire system intended for the fire and rescue service. Approved Document B describes a dry riser as a system that is kept empty, with water supplied through a hose from a pumping appliance during a fire emergency. The firefighters connect at ground level and deliver water to outlet valves on upper floors. In practice, this makes dry riser installation a core part of fire safety planning in taller buildings, because it gives firefighters a direct built in route for water instead of relying on long hose runs through stairwells.
When dry risers are required and how BS 9990 shapes the work
Buildings with a floor level more than 18 metres above fire service vehicle access level will normally require a dry riser, while buildings over 50 metres should have a wet riser. Dry Riser guidance adds that dry risers are commonly found in buildings over 18 metres and that final requirements should follow the fire strategy, Building Control input, and the agreed installation layout. BS 9990:2015 is a standard that BSI identifies as the code of practice covering the design, installation, testing, and maintenance of wet and dry systems.
Dry Riser Installation Sequence UK
Every project is different, but a compliant dry riser installation normally follows a structured sequence. This ensures the system is planned correctly, installed safely, tested properly and handed over with the correct documentation.
1. Enquiry and project review
The dry riser installation process usually starts with an enquiry. At this stage, the contractor reviews the basic building information, including height, number of floors, building type, access arrangements and whether drawings or a fire strategy are available.
This early review helps establish whether the project is likely to need a dry riser, a wet riser, or further input from Building Control or the Fire Officer. It also helps identify whether the building is a residential block, commercial property, hospital, hotel, multi-storey car park, public building or another type of premises where dry riser systems are commonly used.
2. Quotation and scope of works
Once the basic requirements are understood, a quotation can be prepared. This should outline the proposed dry riser installation works, including materials, labour, testing, commissioning and certification. A clear scope of works is important because dry risers are not simply pipework. A complete system will include breeching inlets, galvanised steel pipework, landing valves, drain valves, air release valves, cabinets, brackets, signage and compliance testing to 12 Bar.
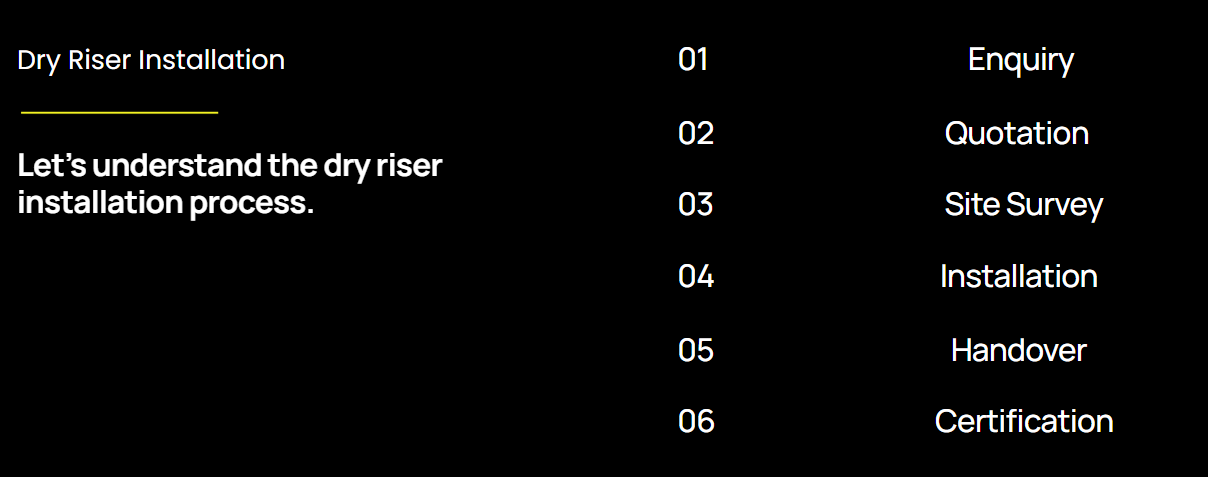
Dry Riser One lists the typical installation journey as enquiry, quotation, site survey, installation, handover and certification.
3. Site survey and agreed layout
A site survey is one of the most important stages of the dry riser installation sequence. During the survey, the contractor checks the building layout, structural fixing points, stair cores, protected lobbies, inlet position and outlet valve locations. The engineer will check that all core holes are drilled and the openings for the inlet cabinets have been formed.
The dry riser design should follow the agreed fire strategy and approved drawings. The location of the breeching inlet must allow firefighters to connect quickly from the fire appliance access point. Outlet valves must be positioned so that firefighting crews can use them safely and effectively on the required floors.
This is also the stage where site risks are reviewed. The contractor should identify live services, access issues, working at height requirements, asbestos risks, permits and any other hazards that may affect installation.
4. Installation
Booking the date
Once the survey and design have been approved, an installation date can be arranged. On the day of installation, engineers will usually arrive on site from 8:00 am, sign in at the site office and complete any required site inductions before works begin.
Materials are often delivered separately, allowing the installation team to begin unloading, checking and organising the materials needed for the dry riser system. This would include galvanised steel pipework, fittings, brackets, valves, cabinets and other installation materials.
Pipe Cutting
Galvanised steel pipework is commonly used because it provides the strength and durability required for dry riser systems. Pipework is measured and cut to the required length. Accurate measuring and cutting are essential because dry riser pipework must follow the approved route and connect properly to fittings, bends, tees, valves and brackets.
Watch: Dry Riser Pipe Cutting During Installation
Grooving, fittings and pipe supports
After cutting, pipework is grooved with the grooving machine. The groove allows couplings to connect securely to the pipe. The installer must check that each groove is correctly formed, straight and suitable for the required fitting.
Pipework is then assembled using the correct fittings, which usually include elbows, sockets, equal tees, pitcher tees and bends. Depending on the building layout, engineers may need to use different bends to route pipework around obstacles while still maintaining the approved design. These may include 11°, 22°, 45°, and 90° radius bends.
Pipework must also be fixed securely using suitable supports. These may include wall brackets, floor brackets, Munson rings, filbows/tophats, depending on the structure and fixing location. Dry Riser Installation guidance states that pipework should be supported at intervals not exceeding 3-metres, or at every change of direction, whichever is less.
Installing landing valves and outlet cabinets
Landing valves, also known as outlet valves, are installed at the required floor levels so firefighters can connect hoses during a fire emergency. These valves are normally housed in clearly marked cabinets and positioned in line with the fire strategy and British Standard requirements.
Outlet valve installation must be accurate, secure, and accessible. The centre of the valve should be positioned 750 mm above the finished floor level. The valve should be easy for the fire and rescue service to locate and operate. Cabinets should include clear identification signage and, where specified, lockable access and viewing panels. The bottom corner of the cabinet should be positioned between 400 mm and 600 mm above finished floor level, unless otherwise specified by the approved design or relevant standard.
Breeching inlet, drain valve and air release valve installation
The breeching inlet is normally positioned at ground level or at an agreed fire service access point. This is where firefighters connect the pump appliance to charge the dry riser with water during a fire emergency. Drain valves are installed to allow the system to be drained after use or testing. Air release valves are typically installed at the top of the vertical main to help release trapped air when the system is charged.
5. Handover
Once the pipework, valves, brackets and fixings are installed, the dry riser must be tested. Pressure testing checks the integrity of the system and confirms that there are no leaks (weeping) in the pipework, joints, fittings or valves. During installation testing, the system is charged with water and pressurised to 12 Bar for at least 15 minutes, with pressure monitored to verify there are no leaks. Once test is finished site manager signs the job sheet that he has witnessed the test.
Any defects found during testing should be corrected before the system is handed over. This stage is essential because a dry riser must be ready for immediate use by firefighters in a fire emergency.
6. Certification
After successful testing and commissioning, the installation is handed over to the client. This should include the relevant documentation, test results, job sheets and compliance certification. Certificate of Compliance can be issued once the dry riser has been installed, tested and certified in accordance with BS 9990:2015. The certification is valid for 12 months, with a visual inspection required after six months to support continued compliance.
Dry riser installation should only be carried out by trained and competent professionals. The work involves fire safety compliance, pressure-rated pipework, correct valve positioning, safe site practices and proper testing.
Choosing an experienced dry riser contractor helps ensure the system is designed correctly, installed safely, tested properly and documented for compliance.
If you are looking for a competent subcontractor, Dry Riser One Ltd can help make sure it is installed correctly and ready for use.
Sources: